


1. As you can see, the offcuts were mainly of 2 sizes: 12"x4" and 8"x4". As my word was 4 letters long I decided to cut each of these piles into 2 different sizes to make my album so that each pile of cardstock gradually got longer. I didn't cut anything at this stage.
 2. Using the storybook cartridge I cut my letters at 4" high using the Cricut machine.
 3. I laid the letters on the cardstock to check they'd fit. I slightly overlapped each letter.
 4. Then using the longer pile of cardstock, I laid the last two letters down and marked with pencil where I was going to cut half of that pile so that some pieces of cardstock were longer than others. I made sure the letter C just slightly overlapped the letter K and marked the cardstock at the bottom.
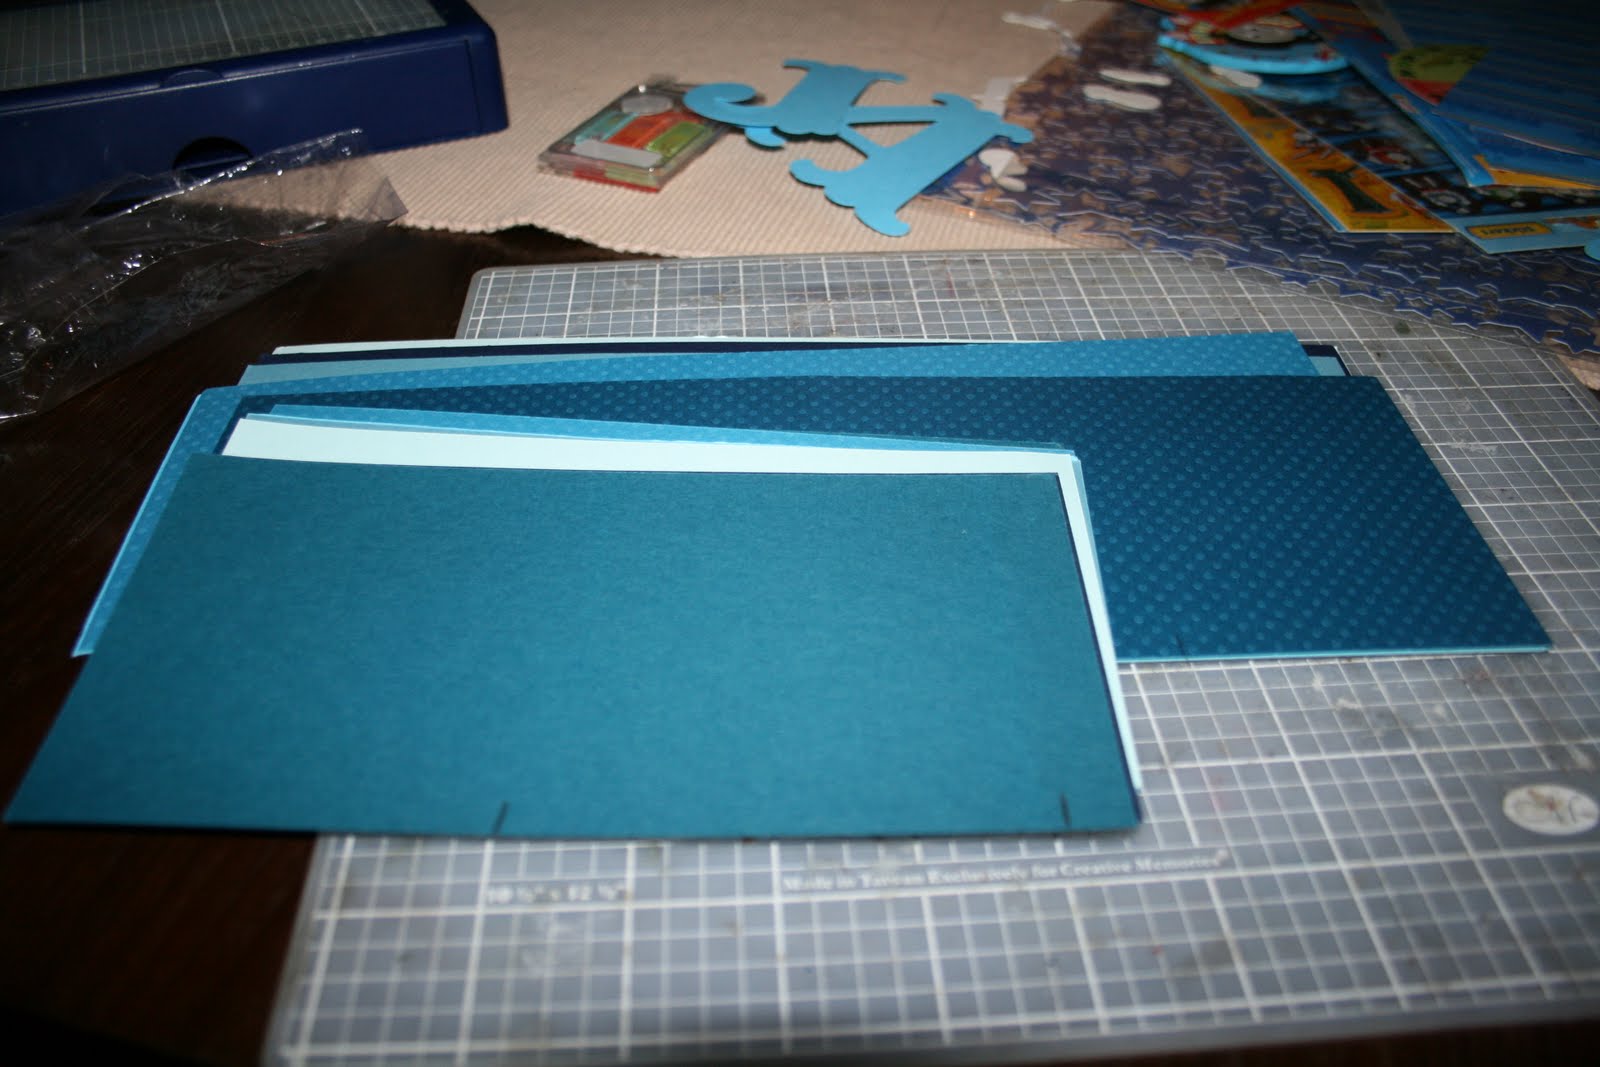
5. I then cut half of the pile of longer cardstock so that I had one pile that was a letters width longer than the other:

6. With the offcuts from above, I realised that I didn't need to cut much off of the shorter cardstock as those offcuts were short enough to hold the letter J. I stuck all the letters down onto the first piece of cardstock from each of the four lengths. To make things co-ordinate I used the dotted swiss cardstock as the first piece in each section but the remaining cardstock pages were just placed randomly according to shade.

7. Using a cropdile, I added holes where I wanted my bookrings to go.
 A close up of how my pages look when layered.
This was really simple to do and looks great as well as using up all those odd pieces of cardstock.
I'll definitely be making more of these minibooks but I might scallop the edges in different ways rather than using letters each time. It'd work equally well with more pages assuming that you just measured out the pages to different sizes.
If you use this tutorial to make your own mini word album, I'd love to see what you do- please leave me a link in the comments section.

great use for scraps, love the font you have used :)
ReplyDeleteHi Lou, happy New Year to you all - loving the word book xx
ReplyDeleteFab idea - so please my kids have short names (Guy, Max & Molly - will forget about Charlotte!)
ReplyDeleteMaybe I'll try and chat a little less, but can't promise, sorry miss!!!!! hehe
ReplyDeleteReally nice! If you have time, we'd love to see the inside of it when it's done.
ReplyDeleteNice neat Word Album, will give my readers a little heads up on that one if you don't mind me sharing!
ReplyDeleteSundayL
Great tut friend! I have to be sure to tell my friend Jules about it as she is the one with the Cricut! :)
ReplyDelete